Node Installation
Installation of Alter Ego is rather complicated. In order to create an environment in which Alter Ego can facilitate a game, many steps need to be taken. This page will explain them in detail.
Step 1: Download Alter Ego
First, you need to download Alter Ego itself. If you already have Git, you can clone the repository by entering
git clone https://github.com/MolSnoo/Alter-Ego.git in Git. If not, you can simply download the ZIP file to your
computer.
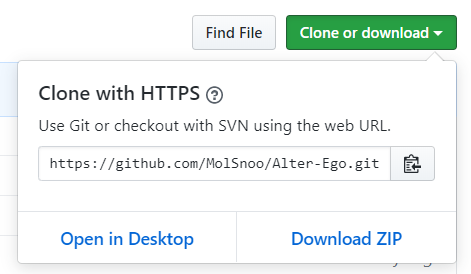
Downloading Alter Ego as a ZIP file is not recommended however, as that makes it harder to keep your copy of Alter Ego up to date. If you do not already have Git, install the official GitHub Desktop app, and then click File > Clone Repository, then navigate to the URL tab and paste the Alter Ego repository link like so:
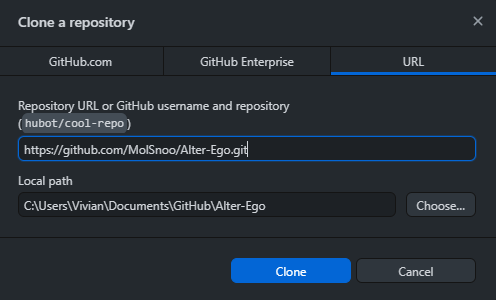
If you’ve done it this way, then you can update Alter Ego by clicking the Pull origin button in the GitHub Desktop app.
Switch to a numbered version
If you do not wish to use the latest changes on on the master branch (it is considered to be a Development version
now), you have to run additional commands to sync to a numbered version.
With Git
Alter Ego versions are organized in “tags”, therefore you must switch to a tag in git to stay on a numbered version. In a terminal, run.
git fetch --all --tags
git checkout tags/[VERSION] -b [BRANCH NAME]
Where VERSION is the version of Alter Ego you wish to use (e.g. 1.8.0) and BRANCH_NAME is a name of your choice (
e.g. 1.8.0)
Without Git
Go to the Alter Ego GitHub page and download the latest release. Click the releases box and select the newest one (or whichever version you choose).

There, you will see something like this.

Download the source code archive Source code (zip). Use your favorite archive utility to open the archive (e.g. 7zip,
GNOME Archive Manager, Keka), and extract the contents into your folder of choice.
Step 2: Install Node.js.
If you already have Node.js installed, you can skip this step.
Node.js is the programming language that Alter Ego was coded in. Without installing it to your computer, you won’t be able to run Alter Ego. You can install it using the link below. The LTS version should be fine.
https://nodejs.org/en/
Step 3: Install dependencies
Alter Ego requires a few dependencies in order to run properly. These are things like the Discord and the Google Sheets API which allow it to facilitate a game.
First, open the Node.js command prompt. It should look like this:
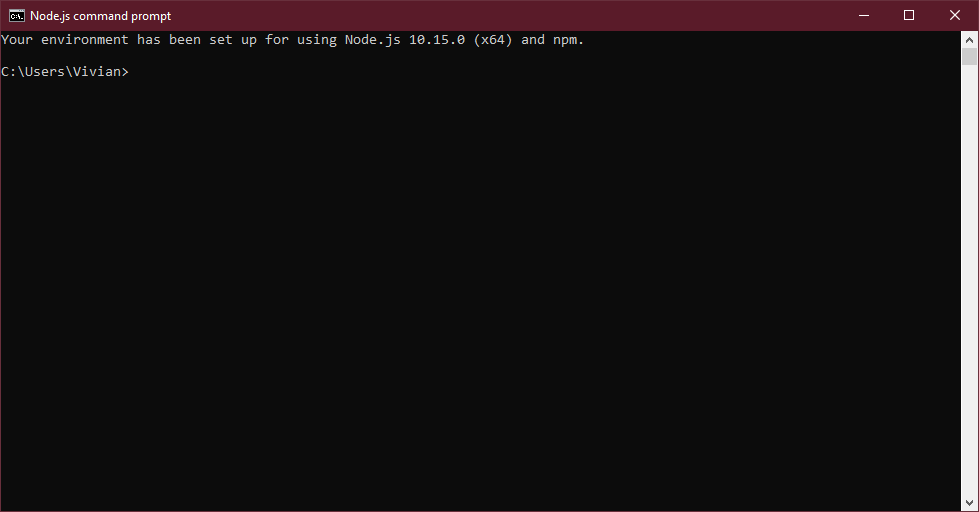
Now run the command cd <the directory you installed Alter Ego in>. It will take you to that directory. It should look
something like this:
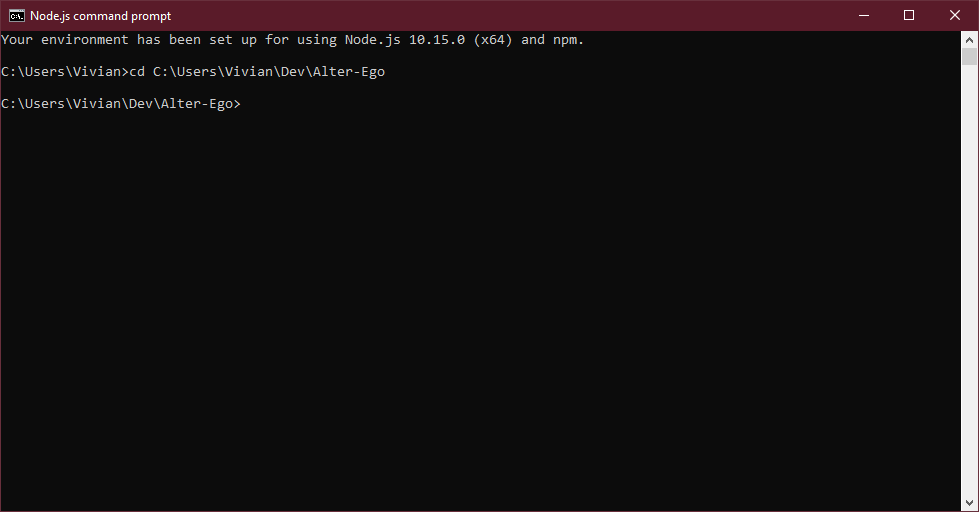
Now that you’re in the directory of Alter Ego, run this command: npm install. This will automatically install all of
the required dependencies.
Step 4: Create a Discord bot
Now that you have Alter Ego installed, you’ll need to create a new Discord bot to bind its functionality to. Navigate to https://discordapp.com/developers/applications/, and once you log in to your Discord account, create a new application. You can call it whatever you like. This example will use an application called “Test Bot”. Once you create the application, you’ll be taken to a page that looks like this:
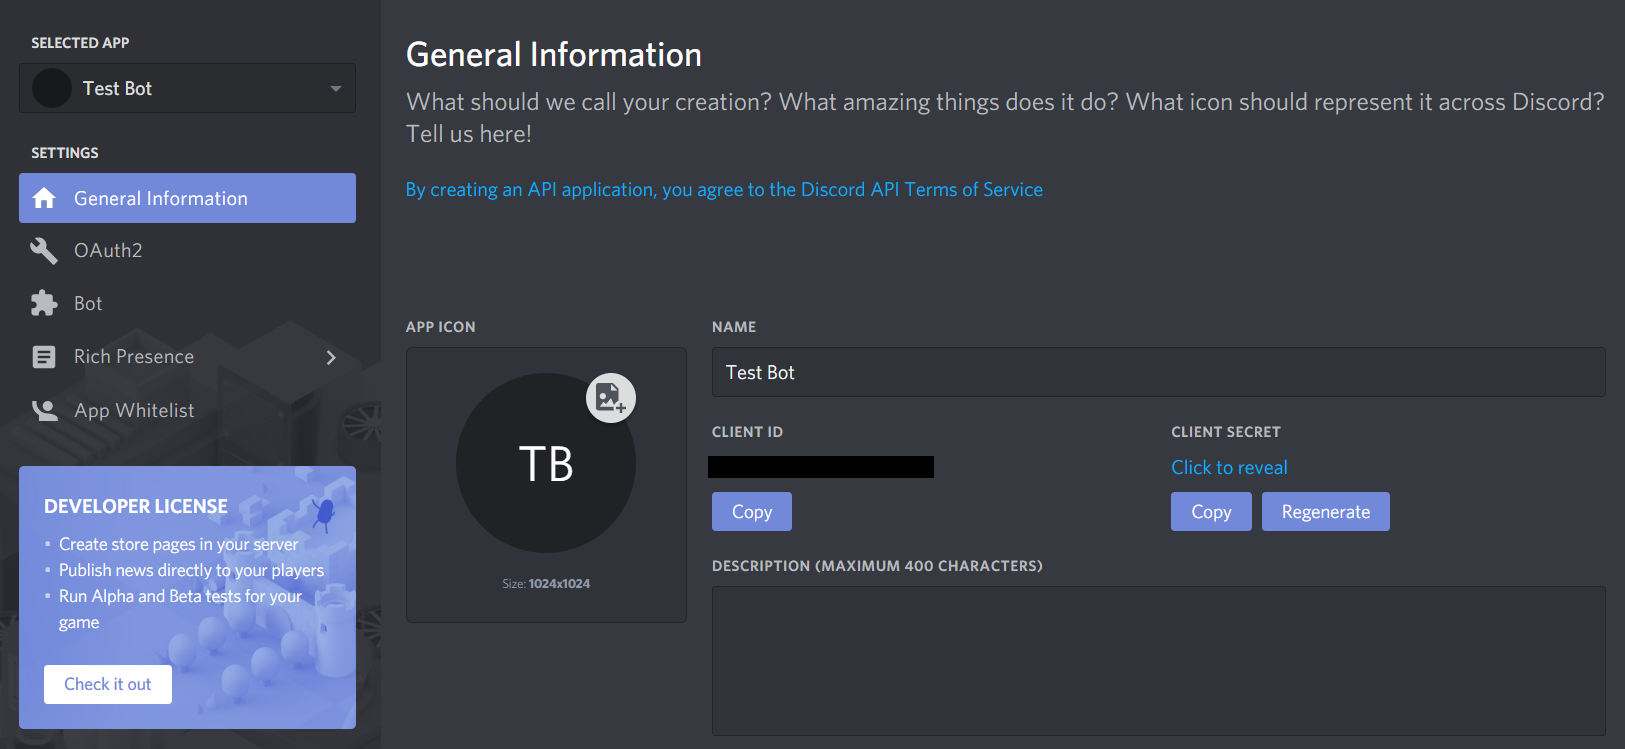
You can ignore this for now. Navigate over to the Bot tab on the left-hand side, then click Add Bot. This will bring you to a page like this:
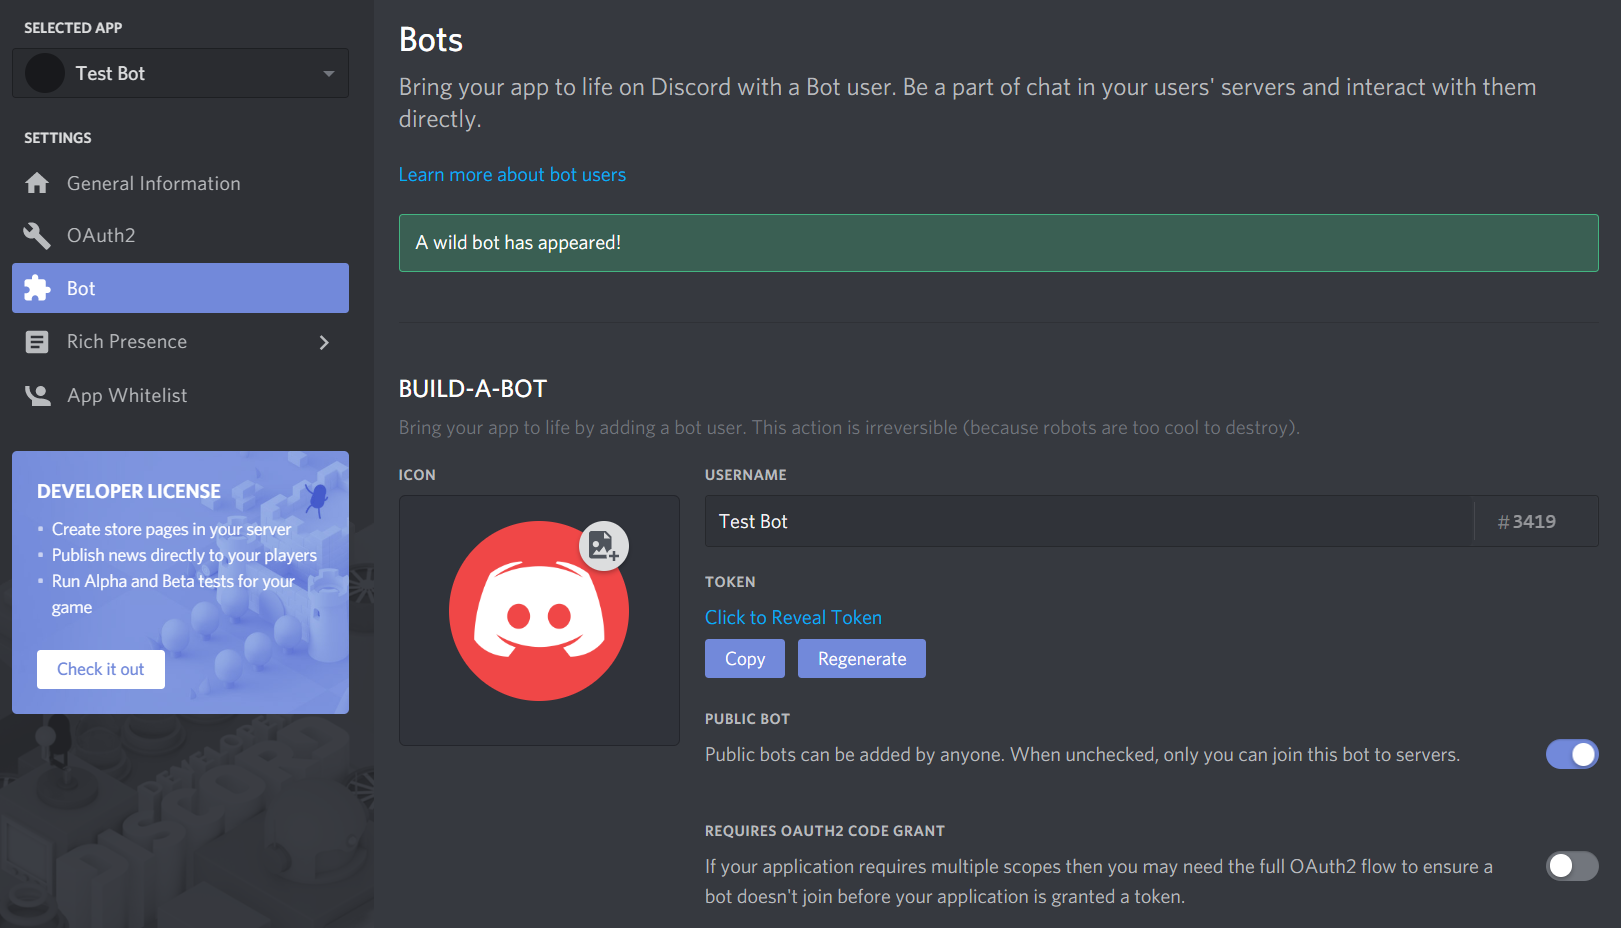
On this page, you can change the bot’s name, set its profile picture, and a few other things. Be sure to uncheck the Public Bot setting! Alter Ego can only be on one server, so you definitely don’t want people inviting it to their own servers!
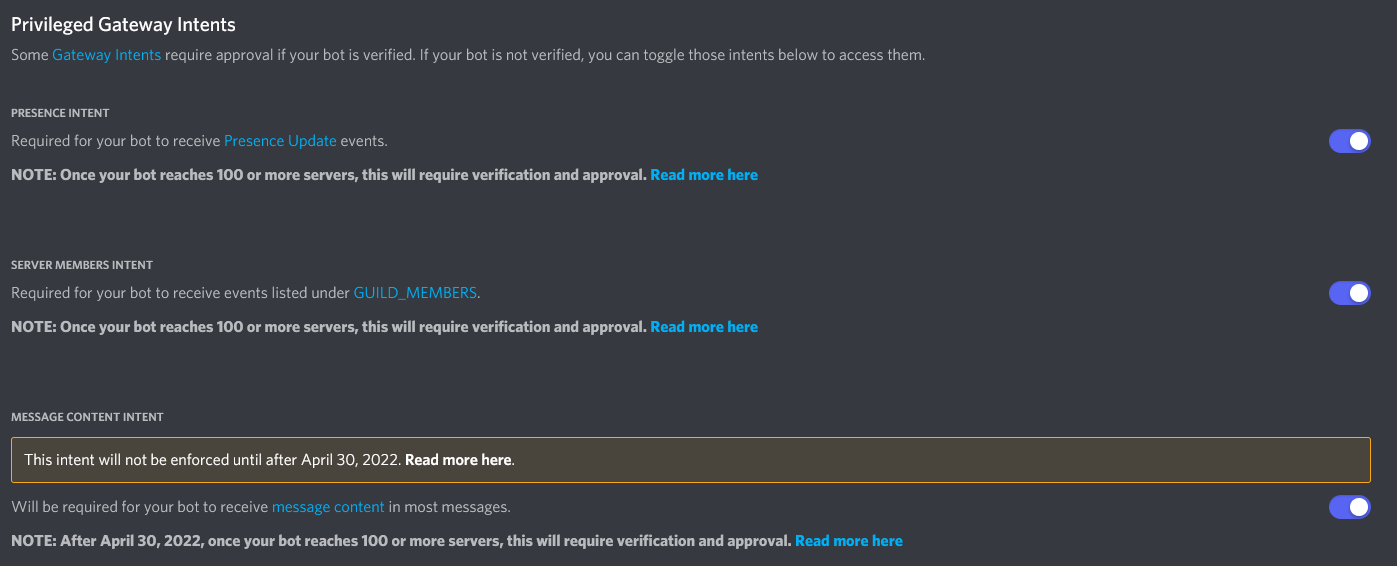
In order for Alter Ego to function properly, you must check the three options under the Privileged Gateway Intents section, specifically the Presence Intent, Server Members Intent, and Message Content Intent. If you’ve done this right, it will look like this:
Step 5: Create a Discord server
Before you can get Alter Ego up and running, you’ll have to create a Discord server. You can call it whatever you like, but once it’s made, you’ll have to set a number of things up.
The easiest way to create a server is using this template, which will add all of the requisite roles and channels for you. If you want to set those up manually, refer to this page.
Enable Developer Mode
You’ll have to enable Developer Mode for your account for the next few steps. To do this, navigate to your User Settings in Discord. Open the Appearance tab and scroll to the bottom. Under Advanced, you’ll see a switch labeled Developer Mode. Turn it on if it’s not already.
Step 6: Invite your bot to the server
Back on the Discord Developer Portal, click on the OAuth2 tab on the left-hand side. Scroll down to this section:
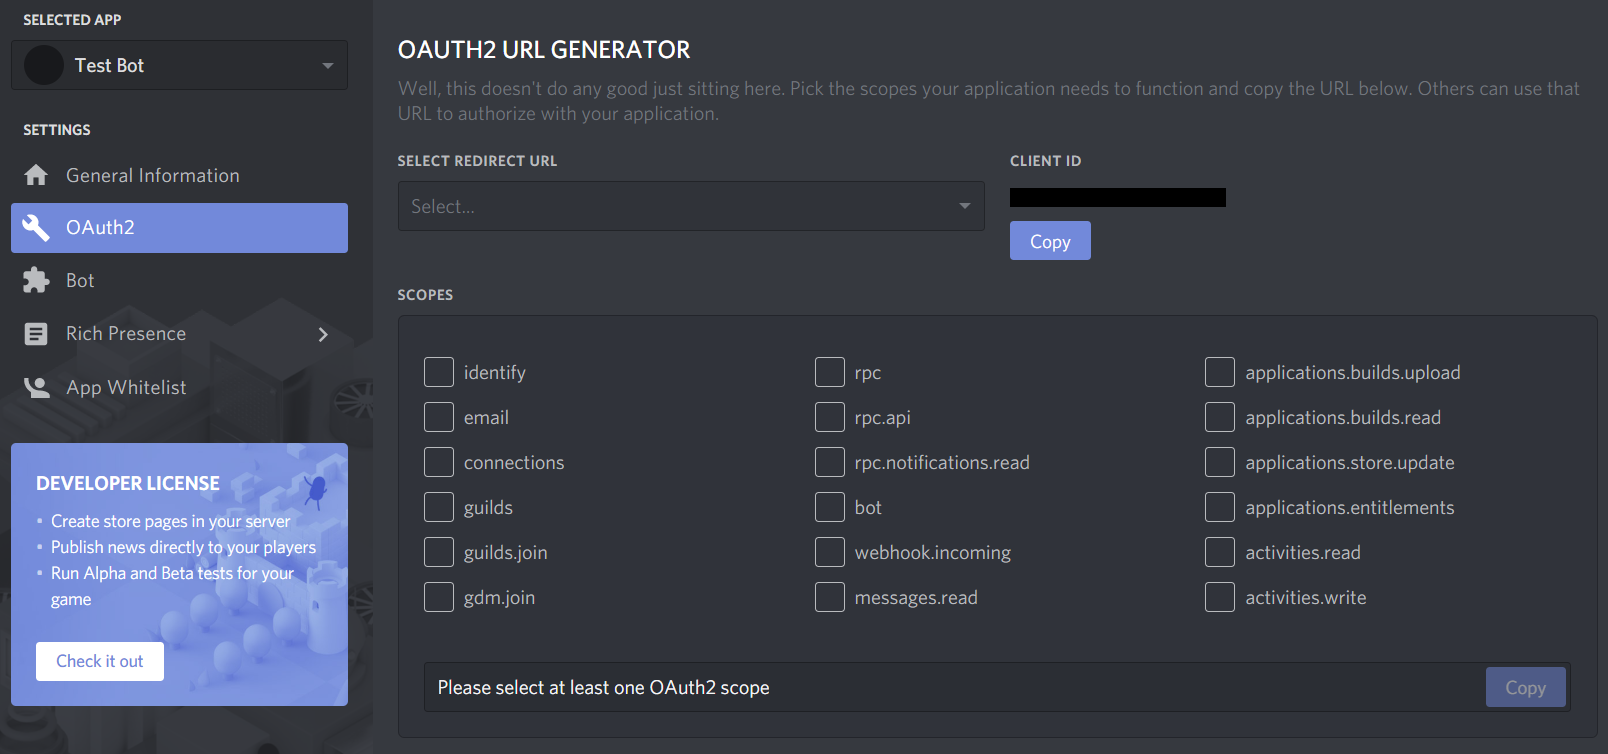
Check bot, then in the box that appears below, check Administrator. You should have something that looks like this:

Finally, copy that URL in the Scopes box and open it in your browser. It will take you to a page that looks like this:
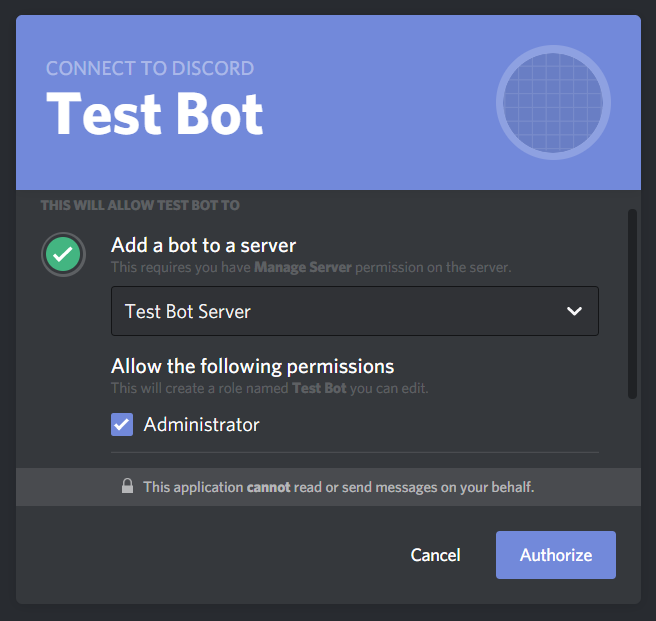
Select the server you just made, make sure Administrator is checked, and click Authorize.
With that, your bot will join your server! However, it doesn’t do anything at the moment. You still need to do a few things.
Step 7: Create a spreadsheet
Next, you will need to create a spreadsheet for Alter Ego to use. For more information, see the article on spreadsheets.
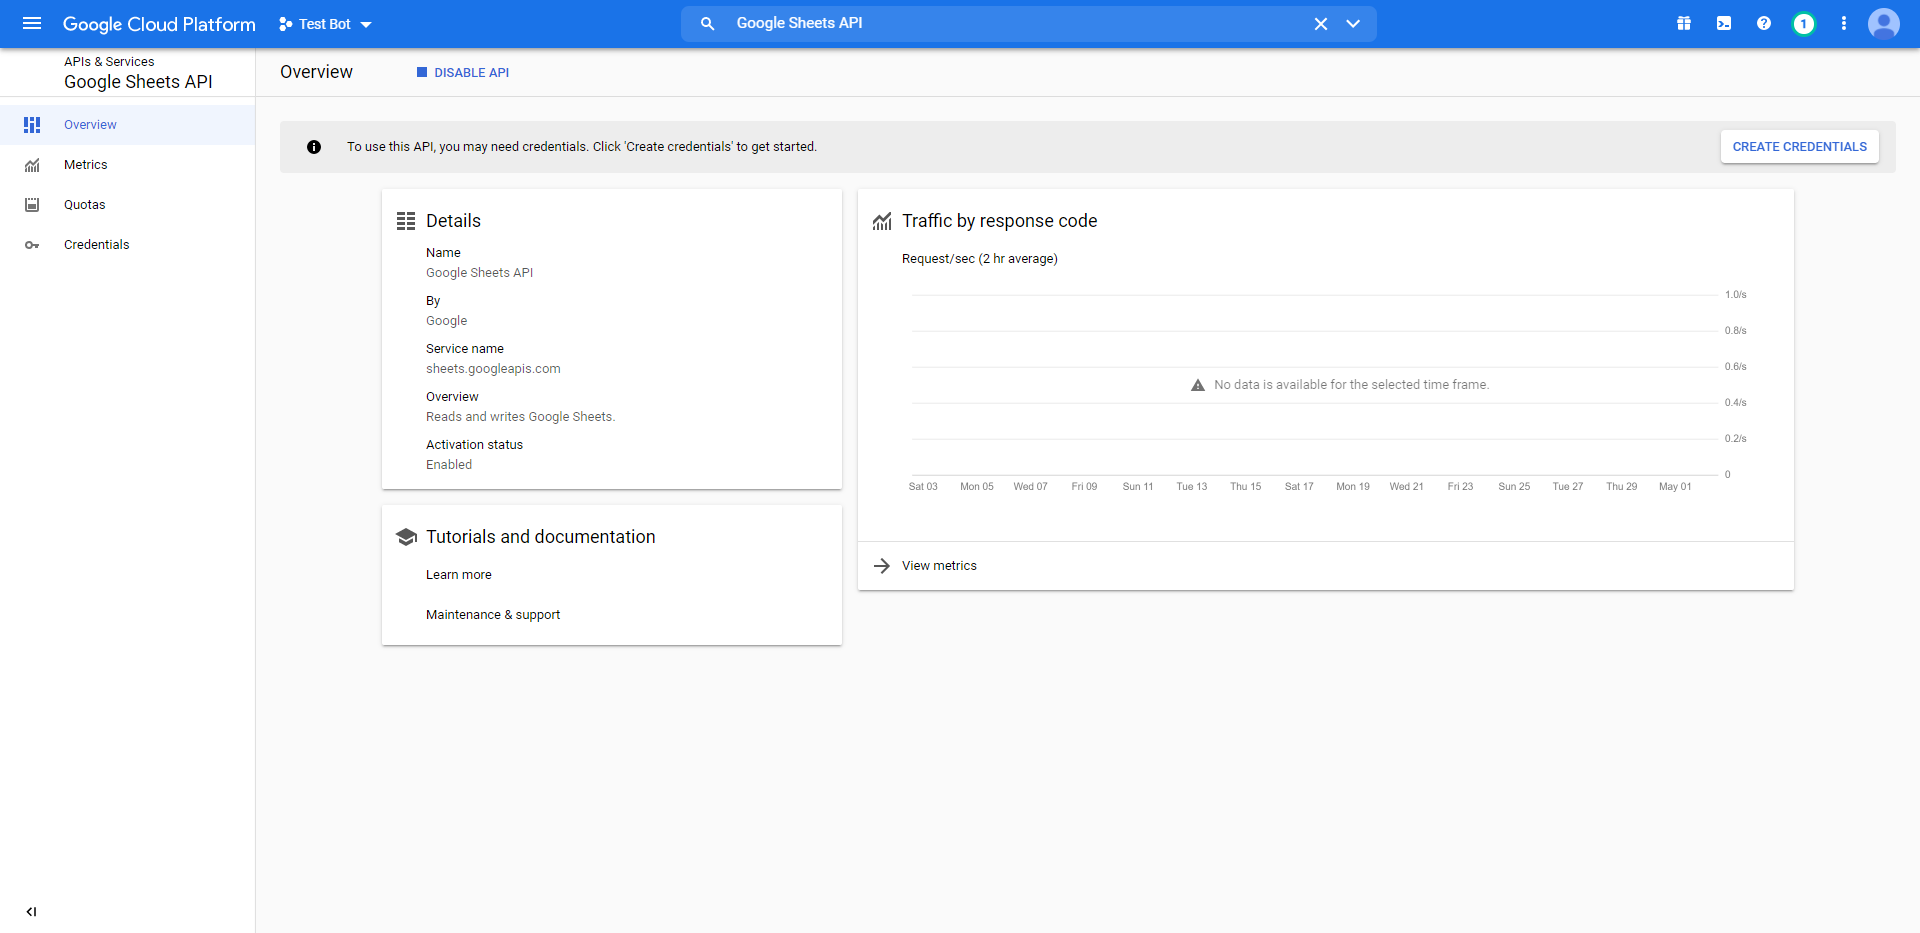
Step 8: Enable the Google Sheets API
In order for Alter Ego to work properly, you will need to create a new Google APIs project. The easiest way to do that is to navigate to the Google Workspace project creation guide and follow the instructions. For step 5 under the Enable a Google Workspace API section, search for Google Sheets API. Assuming you’ve done this correctly, you should arrive at a page that looks like this:
Step 9: Create a service account
In order to allow Alter Ego to make changes to the spreadsheet, you’ll need to create a service account for it to use. To do that, navigate to the Credentials tab on the left-hand side of the page you were just taken to. Click the Create credentials button and select Service account. You should be brought to a page like this:
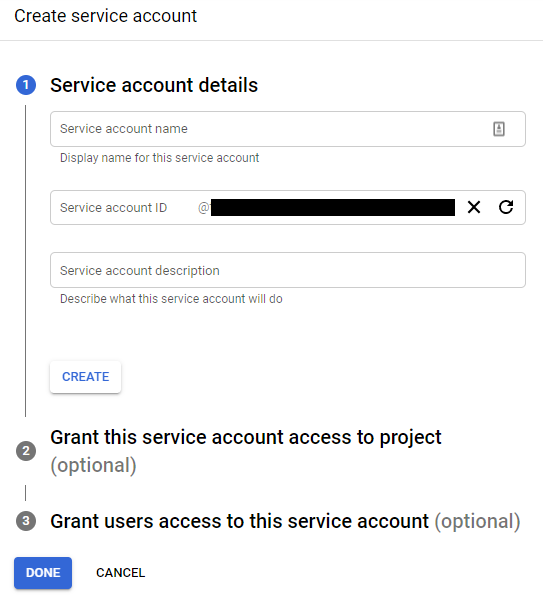
For the name, enter the bot’s name; in this case, it’s Test Bot. For the description, enter whatever you like. Next, grant it the “Owner” role. You can skip step 3.
Once your service account is made, you should see it under the Service Accounts list. Click on the edit button for the service account, and then click on the Keys tab, so that it brings you to a page like this:
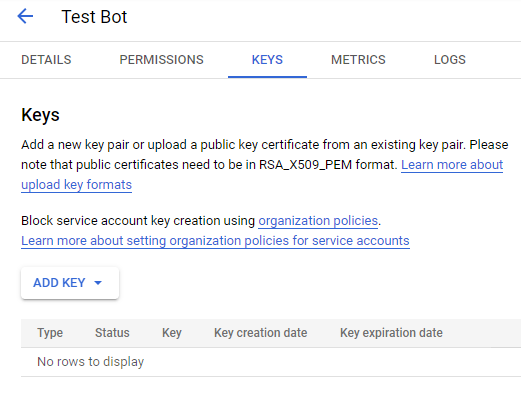
Click the Add Key button and select Create new key. Make sure the key type is JSON, then click Create. This will download a file to your computer. Don’t touch that just yet - there’s one thing to do first. Return to the Service Accounts page.
Step 10: Share the spreadsheet
On the Service Accounts page, you should now see the service account you just created. Copy its email address, then head over to the spreadsheet you made earlier.
On the spreadsheet, press the Share button. Paste the service account’s email address into the dialog box and make sure to give it permission to edit the spreadsheet. You can also do the same with any other moderators you have, if you haven’t done so already. Once you’ve done that, you nearly have everything you need.
Step 11: Copy configuration files
In the Alter Ego folder, navigate to the Defaults folder, and you should see something like this:
Alter-Ego
└───Defaults
│   │   README: DO NOT CHANGE.txt
│   │   default_constants.json
│   │   default_demodata.json
│   │   default_playerdefaults.json
│   │   default_serverconfig.json
│   │   default_settings.json
│...
Copy all .json files into the Configs directory, then rename them by removing the “default_” before the name of the
file. For instance default_settings.json becomes settings.json
Your folders should now look something like this:
Alter-Ego
└───Defaults
│   │   README: DO NOT CHANGE.txt
│   │   default_constants.json
│   │   default_demodata.json
│   │   default_playerdefaults.json
│   │   default_serverconfig.json
│   │   default_settings.json
│
└───Configs
│   │   CONFIGS GO HERE
│   │   constants.json
│   │   demodata.json
│   │   playerdefaults.json
│   │   serverconfig.json
│   │   settings.json
│...
Step 12: Edit credentials file
Open the file you downloaded after creating the service account in any text editor. The file should look something like this:
{
    "type": "service_account",
    "project_id": "(CONFIDENTIAL)",
    "private_key_id": "(CONFIDENTIAL)",
    "private_key": "(CONFIDENTIAL)",
    "client_email": "(CONFIDENTIAL)",
    "client_id": "(CONFIDENTIAL)",
    "auth_uri": "https://accounts.google.com/o/oauth2/auth",
    "token_uri": "https://oauth2.googleapis.com/token",
    "auth_provider_x509_cert_url": "https://www.googleapis.com/oauth2/v1/certs",
    "client_x509_cert_url": "(CONFIDENTIAL)"
}
In case it wasn’t clear, almost all of the data in this file is confidential. Don’t share it with a single person, and make absolutely sure not to put it online somehow.
Open Configs/credentials.json. This file is where you’re going to put the credentials for both the Discord bot and the
service account. Copy and paste this into the file:
{
    "discord": {
        "token": ""
    },
    "google": {

    }
}
Now navigate to the Discord Developer Portal once again and find the application you created earlier. Open the Bot tab. Under Token, click Copy. Paste it inside the quotation marks after “token” in your credentials file. This token must not be shared with anyone, as it grants access to your bot’s account.
The next thing to do with your credentials file is add the Google service account credentials. Copy everything within the braces from the service account credentials file and paste it onto the blank line after “google”. Make sure everything’s indented properly, and if you did everything right, you’ll have a file that looks like this:
{
    "discord": {
        "token": "(CONFIDENTIAL)"
    },
    "google": {
        "type": "service_account",
        "project_id": "(CONFIDENTIAL)",
        "private_key_id": "(CONFIDENTIAL)",
        "private_key": "(CONFIDENTIAL)",
        "client_email": "(CONFIDENTIAL)",
        "client_id": "(CONFIDENTIAL)",
        "auth_uri": "https://accounts.google.com/o/oauth2/auth",
        "token_uri": "https://oauth2.googleapis.com/token",
        "auth_provider_x509_cert_url": "https://www.googleapis.com/oauth2/v1/certs",
        "client_x509_cert_url": "(CONFIDENTIAL)"
    }
}
Step 13: Fill out settings
The last thing you must do before you can run Alter Ego is configure the settings file. For more information, see the article on settings.
Step 14: Run Alter Ego
Finally, you can run Alter Ego. In the Node.js terminal, run node bot.js. If you did everything right, this is what
you’ll see:
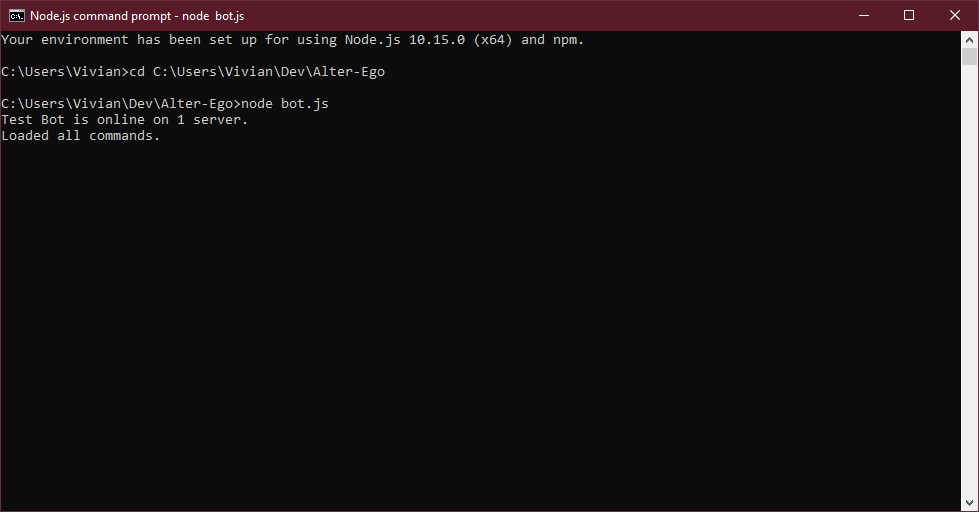
You can now use Alter Ego to run a game of the Neo World Program. Good luck!